Kickytime – Cognito 회원가입·로그인
AWS Cognito Hosted UI로 회원가입·로그인을 붙이고, Spring Security Resource Server로 JWT를 검증해 백엔드와 연동한 기록. 환경 변수, 보안 고려사항, 개선 방향까지 정리.
요약: 프론트는 Cognito Hosted UI + Authorization Code with PKCE로 로그인/회원가입을 처리하고, 백엔드는 Spring Security Resource Server로 access token(JWT) 을 검증합니다. 최초 로그인 시 /api/users/signin-up 으로 사용자 정보를 동기화(upsert)하여 DB에 저장했습니다.
1) 프로젝트 개요
- 서비스: 풋살 매칭 플랫폼(Kickytime)
- 인증: AWS Cognito Hosted UI (로그인/회원가입)
- 백엔드: Spring Boot 3.5.4, JPA, PostgreSQL
- 프론트엔드: React + Vite + TypeScript
- 배포: S3 + CloudFront(웹), ALB → ECS Fargate/EC2(API), RDS(PostgreSQL)
2) 핵심 기능 (인증 관점)
- Hosted UI에서 회원가입 / 로그인
- 콜백에서 Authorization Code ↔ Token 교환(PKCE 사용)
- 프론트가 access_token 을 저장 후 API 호출 시
Authorization: Bearer <token>헤더 첨부 - 백엔드(Spring)에서 JWT 검증(issuer, signature,
token_use="access") - 최초 로그인 시
/api/users/signin-up으로 Cognito UserInfo 호출 → DB upsert
3) 아키텍처 개요
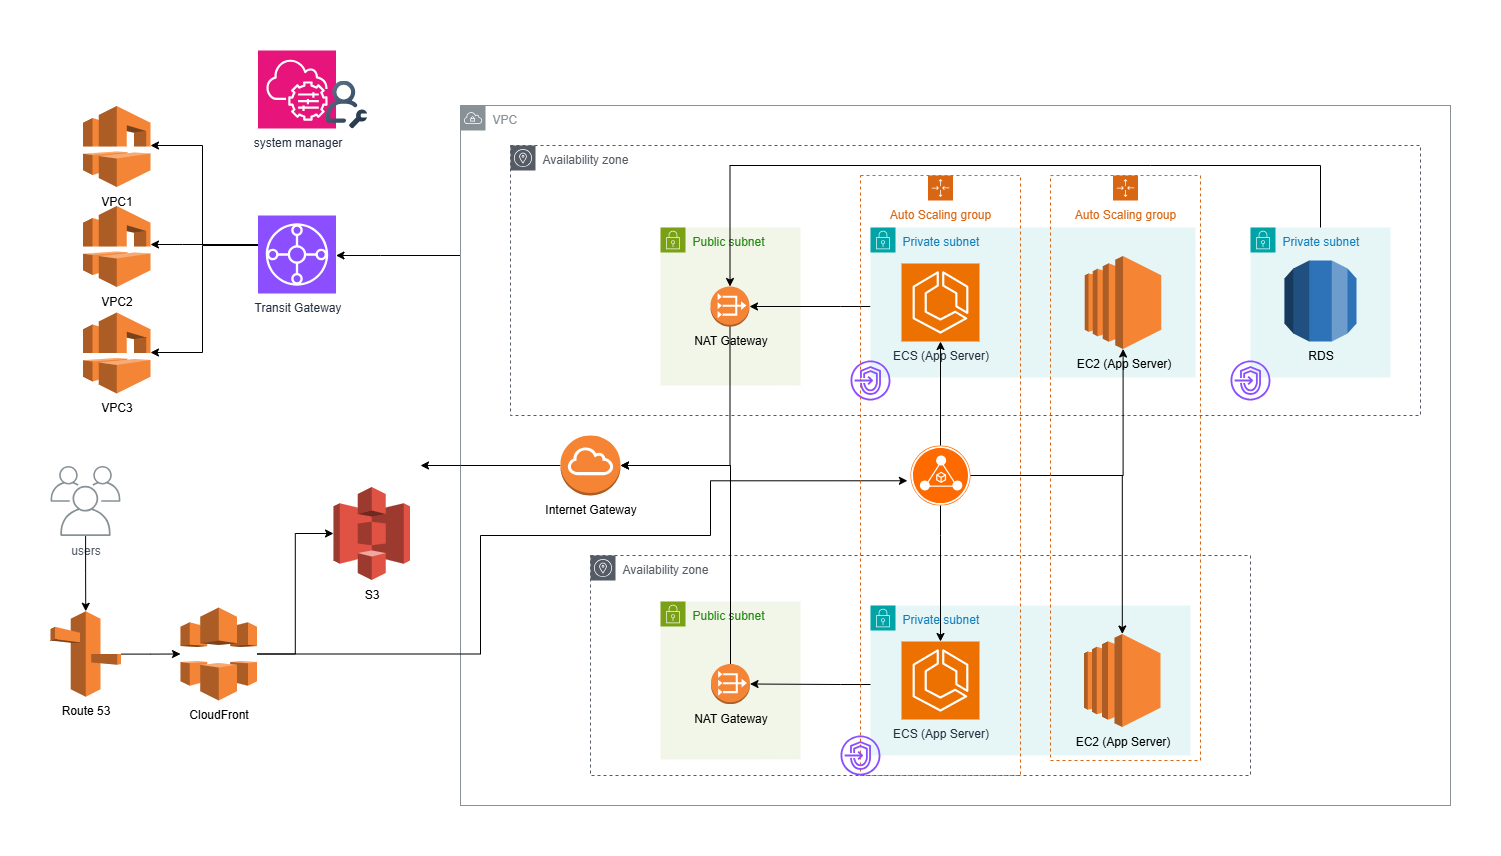 CloudFront+S3(정적 웹) → ALB → ECS/EC2(API), 사설 서브넷의 RDS. 백엔드는 NAT를 통해 Cognito JWK/UserInfo 등 퍼블릭 엔드포인트에 접근.
- 프론트: S3 정적 호스팅 + CloudFront 캐싱
- 백엔드: ALB 뒤 ECS Fargate(일부 API) + EC2 ASG(일부 API)
- DB: RDS(PostgreSQL) 프라이빗 서브넷
- 아웃바운드: NAT Gateway 경유로 Cognito JWK/Hosted UI/Token/UserInfo 접근
4) 인증 흐름 상세 (시퀀스)
sequenceDiagram
autonumber
actor U as User
participant FE as Frontend (Vite/React)
participant C as Cognito Hosted UI
participant BE as Backend (Spring)
participant DB as PostgreSQL
U->>FE: 로그인 버튼 클릭
FE->>C: /authorize (code + PKCE)
C-->>U: 로그인/회원가입 화면
U->>C: 자격 증명 입력/회원가입 완료
C-->>FE: redirect_uri?code=...
FE->>C: /oauth2/token (code + code_verifier)
C-->>FE: access_token / id_token / refresh_token
FE->>BE: POST /api/users/signin-up (Authorization: Bearer access_token)
BE->>C: /oauth2/userInfo (access_token)
C-->>BE: 이메일/닉네임/검증여부
BE->>DB: 사용자 upsert (없으면 생성)
BE-->>FE: User DTO
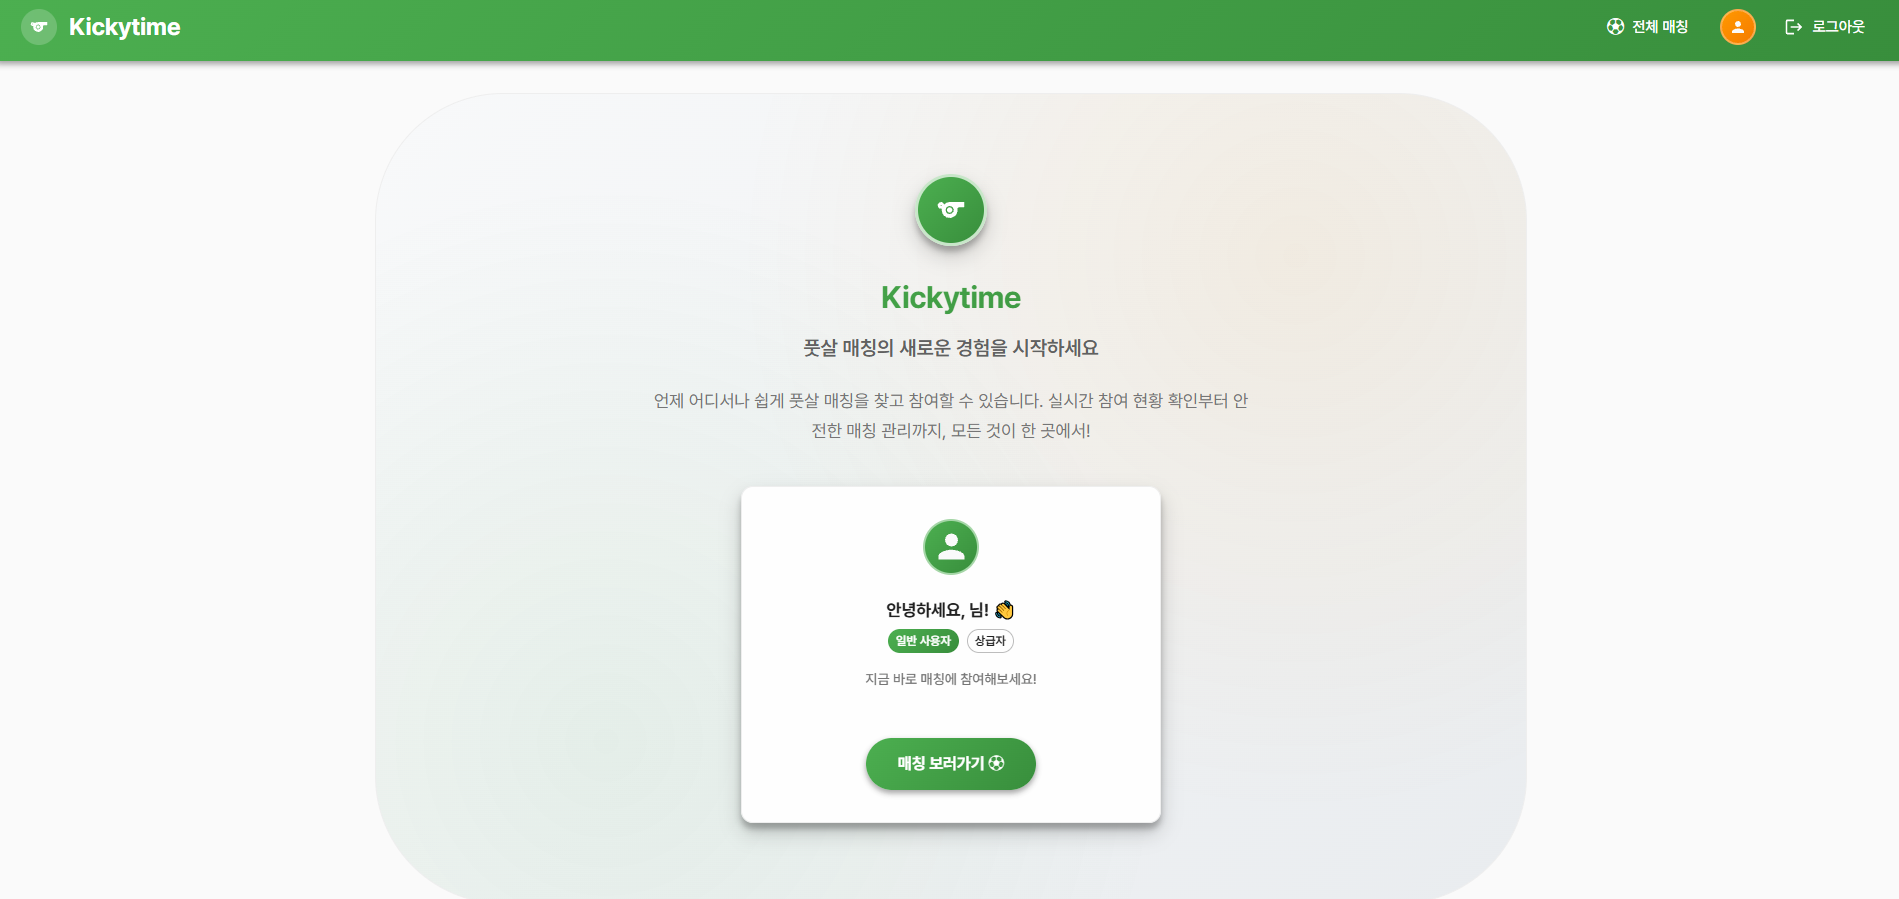
FE-->>U: 로그인 완료, 프로필 표시
4-1. 실제 화면 예시
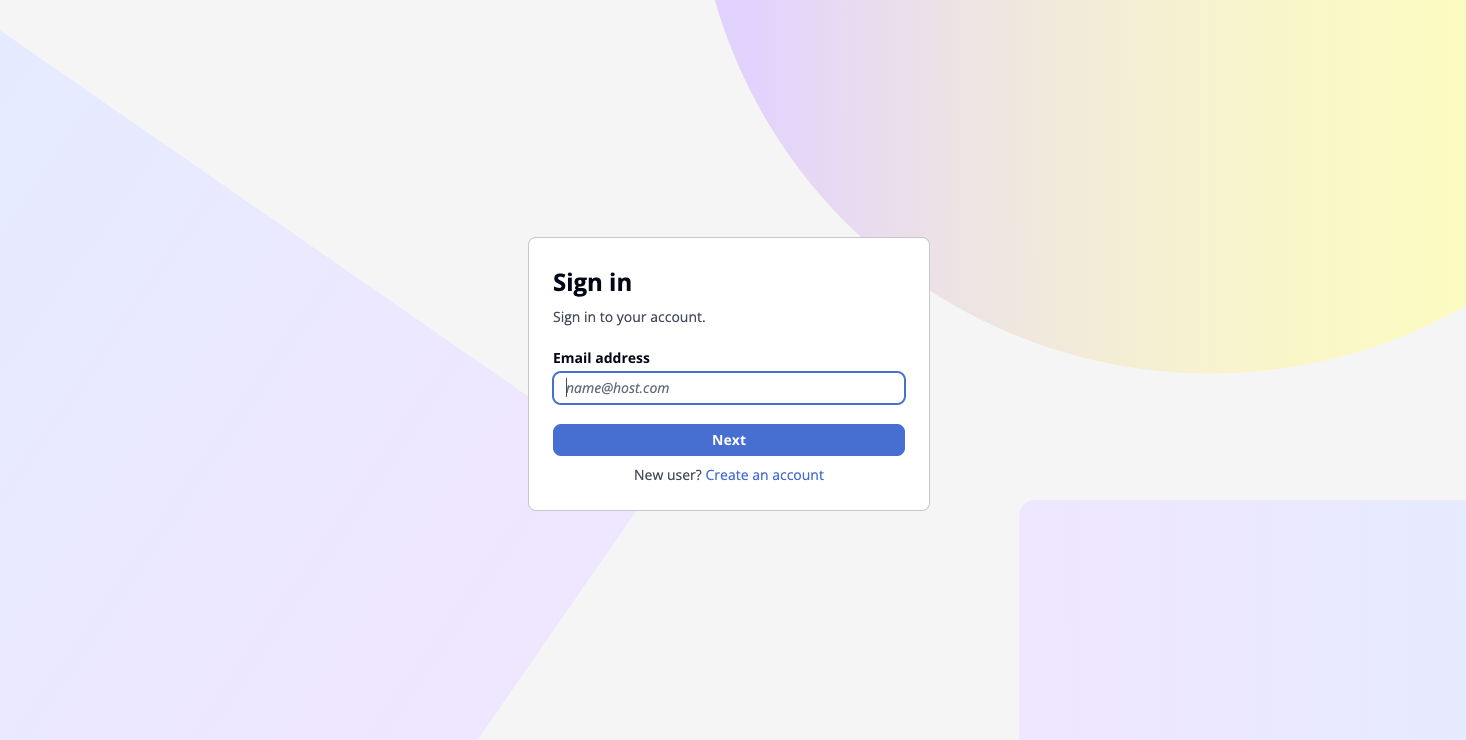 사용자가 실제로 보게 되는 로그인 화면
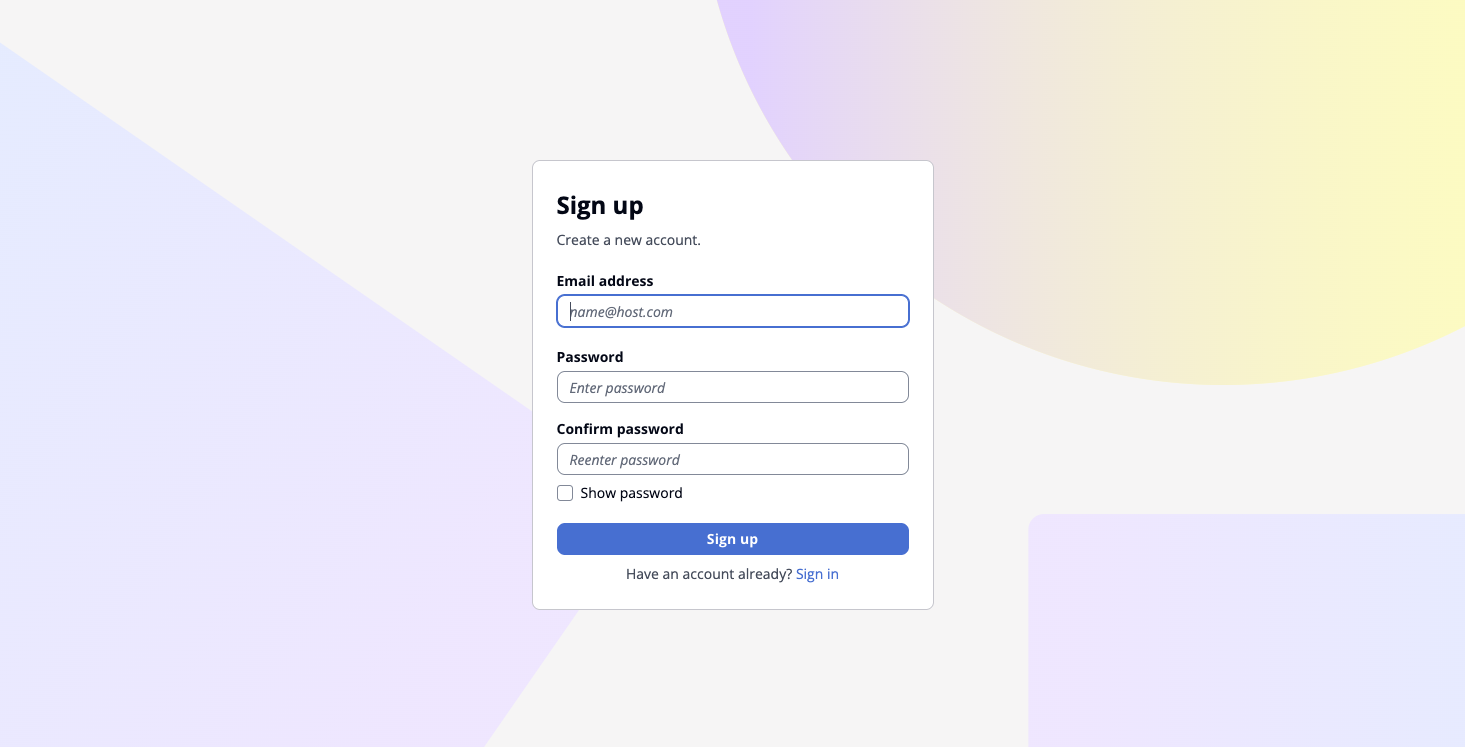 신규 사용자를 위한 회원가입 화면
5) 백엔드 구현
5-1. 의존성(Gradle)
1
2
3
4
5
6
7
8
implementation 'org.springframework.boot:spring-boot-starter-web'
implementation 'org.springframework.boot:spring-boot-starter-security'
implementation 'org.springframework.boot:spring-boot-starter-oauth2-resource-server'
implementation 'org.springframework.boot:spring-boot-starter-data-jpa'
implementation 'org.springframework.boot:spring-boot-starter-actuator'
implementation 'org.springdoc:springdoc-openapi-starter-webmvc-ui:2.6.0'
runtimeOnly   'org.postgresql:postgresql'
implementation 'software.amazon.awssdk:cognitoidentityprovider:2.x'
5-2. 보안 설정 (JWT Resource Server)
1
2
3
4
5
6
7
8
9
10
11
12
13
14
15
16
17
18
19
20
21
22
23
24
25
26
27
@Configuration
public class SecurityConfig {
  @Value("${spring.security.oauth2.resourceserver.jwt.issuer-uri}")
  private String issuerUri;

  @Bean
  SecurityFilterChain filter(HttpSecurity http) throws Exception {
    http
      .csrf(AbstractHttpConfigurer::disable)
      .authorizeHttpRequests(reg -> reg
        .requestMatchers("/actuator/health", "/swagger-ui/**", "/v3/api-docs/**").permitAll()
        .anyRequest().authenticated())
      .oauth2ResourceServer(oauth2 -> oauth2
        .jwt(Customizer.withDefaults()))
      .httpBasic(AbstractHttpConfigurer::disable);
    return http.build();
  }

  @Bean
  JwtDecoder accessTokenDecoder() {
    NimbusJwtDecoder decoder = JwtDecoders.fromIssuerLocation(issuerUri);
    OAuth2TokenValidator<Jwt> withIssuer = JwtValidators.createDefaultWithIssuer(issuerUri);
    OAuth2TokenValidator<Jwt> tokenUseIsAccess = new TokenUseValidator("access");
    decoder.setJwtValidator(new DelegatingOAuth2TokenValidator<>(withIssuer, tokenUseIsAccess));
    return decoder;
  }
}
TokenUseValidator 는 Cognito 토큰 클레임 token_use 가 access 인지 확인합니다.
1
2
3
4
5
6
7
8
9
public class TokenUseValidator implements OAuth2TokenValidator<Jwt> {
  private final String expected;
  public TokenUseValidator(String expected) { this.expected = expected; }
  public OAuth2TokenValidatorResult validate(Jwt token) {
    return expected.equals(token.getClaimAsString("token_use"))
      ? OAuth2TokenValidatorResult.success()
      : OAuth2TokenValidatorResult.failure(new OAuth2Error("invalid_token","Invalid token_use",null));
  }
}
5-3. 사용자 동기화 API
- 엔드포인트:
POST /api/users/signin-up - 동작:
@AuthenticationPrincipal Jwt로 access token을 받고, Cognito UserInfo API를 호출하여 이메일/닉네임/검증 여부를 얻은 뒤, DB에 find-or-create(upsert)
1
2
3
4
5
6
7
8
9
10
11
12
13
14
15
16
17
18
19
20
@RestController
@RequestMapping("/api/users")
@RequiredArgsConstructor
public class UserController {
  private final UserService userService;
  private final CognitoUserInfoClient userInfoClient;

  @PostMapping("/signin-up")
  public User signinUp(@AuthenticationPrincipal Jwt accessToken) {
    String sub = accessToken.getClaimAsString("sub");
    var info = userInfoClient.fetch(accessToken.getTokenValue());
    boolean verified = Boolean.TRUE.equals(info.emailVerified());
    return userService.findOrCreateUser(sub, info.email(), info.nickname(), verified);
  }

  @GetMapping("/me")
  public UserDto me(@AuthenticationPrincipal Jwt jwt) {
    return userService.getByCognitoSub(jwt.getClaimAsString("sub"));
  }
}
CognitoUserInfoClient 는 Authorization: Bearer <access_token> 로 /oauth2/userInfo 를 호출합니다.
1
2
3
4
5
6
7
8
9
10
@Component
public class CognitoUserInfoClient {
  private final RestClient rest = RestClient.builder().build();
  public record UserInfo(String email, String nickname, @JsonProperty("email_verified") Boolean emailVerified) {}
  public UserInfo fetch(String accessToken) {
    return rest.get().uri(userInfoUri)
      .header(HttpHeaders.AUTHORIZATION, "Bearer "+accessToken)
      .retrieve().body(UserInfo.class);
  }
}
5-4. 엔티티 설계(요지)
- users:
id, email(고유), nickname(고유), cognito_sub, email_verified, role(USER/ADMIN), image_url, rank(BEGINNER/INTERMEDIATE/MASTER), created_at, updated_at - matches:
id, location, match_time, max_players, match_status(OPEN/FULL/CLOSED/CANCELED), created_by - match_participants:
UNIQUE(match_id, user_id)로 중복 참여 방지
6) 프론트엔드 구현
6-1. 환경 변수 (.env)
# API
VITE_API_BASE_URL=https://api.kickytime.nextcloudlab.com/api/

# Cognito
VITE_COGNITO_DOMAIN=https://<your-domain>.auth.ap-northeast-2.amazoncognito.com
VITE_COGNITO_CLIENT_ID=xxxxxxxxxxxxxxxxxxxx
VITE_COGNITO_REDIRECT_URI=https://kickytime.nextcloudlab.com/auth/callback
6-2. Hosted UI 이동 + PKCE
1
2
3
4
5
6
7
8
9
10
11
12
13
14
15
16
17
// src/auth/hostedUi.ts
import { COGNITO } from './config';
import { createPkce } from './pkce';

function buildAuthorizeUrl(path: 'login'|'signup', challenge: string) {
  const u = new URL(`${COGNITO.hostedUiDomain}/${path}`);
  u.searchParams.set('response_type', 'code');
  u.searchParams.set('client_id', COGNITO.clientId);
  u.searchParams.set('redirect_uri', COGNITO.redirectUri);
  u.searchParams.set('scope', COGNITO.scopes.join(' '));
  u.searchParams.set('code_challenge_method', 'S256');
  u.searchParams.set('code_challenge', challenge);
  return u.toString();
}

export async function goLogin()  { const {challenge} = await createPkce(); window.location.href = buildAuthorizeUrl('login',  challenge); }
export async function goSignup() { const {challenge} = await createPkce(); window.location.href = buildAuthorizeUrl('signup', challenge); }
1
2
3
4
5
6
7
// src/auth/pkce.ts
export async function createPkce() {
  const verifier  = randomString();
  const challenge = base64url(await sha256(verifier));
  sessionStorage.setItem('pkce_verifier', verifier);
  return { verifier, challenge };
}
6-3. 콜백에서 토큰 교환 + 사용자 동기화
1
2
3
4
5
6
7
8
9
10
11
12
13
14
15
16
17
18
19
20
21
22
23
24
25
26
// src/auth/callback.ts (요지)
export async function handleAuthCallback() {
  const code = new URL(window.location.href).searchParams.get('code');
  const verifier = sessionStorage.getItem('pkce_verifier')!;

  const body = new URLSearchParams({
    grant_type: 'authorization_code',
    client_id: COGNITO.clientId,
    code_verifier: verifier,
    code: code!,
    redirect_uri: COGNITO.redirectUri,
  });

  const tokenRes = await fetch(`${COGNITO.hostedUiDomain}/oauth2/token`, {
    method: 'POST', headers: { 'Content-Type': 'application/x-www-form-urlencoded' }, body
  });
  const { access_token, id_token, refresh_token } = await tokenRes.json();
  localStorage.setItem('access_token', access_token);
  localStorage.setItem('id_token', id_token);
  if (refresh_token) localStorage.setItem('refresh_token', refresh_token);

  // 최초 로그인 → 서버에 upsert
  await api.post('users/signin-up');
  const me = (await api.get('users/me')).data;
  useAuthStore.getState().setUser(me);
}
6-4. Axios 인스턴스
1
2
3
4
5
6
7
8
9
10
11
12
13
14
15
16
// src/api/axiosInstance.ts (요지)
export const api = axios.create({ baseURL: import.meta.env.VITE_API_BASE_URL, timeout: 10_000 });
api.interceptors.request.use((config) => {
  const token = localStorage.getItem('access_token');
  if (token) config.headers.Authorization = `Bearer ${token}`;
  return config;
});
api.interceptors.response.use(
  (r) => r,
  (err) => {
    if (err.response?.status === 401) {
      useAuthStore.getState().clearTokens?.();
    }
    return Promise.reject(err);
  }
);
7) 환경 설정
7-1. 백엔드 application-prod.yml
1
2
3
4
5
6
7
8
9
10
11
12
13
14
15
16
17
18
19
20
21
22
23
spring:
  datasource:
    url: ${DB_URL}
    username: ${DB_USERNAME}
    password: ${DB_PASSWORD}
  jpa:
    hibernate:
      ddl-auto: none
    show-sql: false
  security:
    oauth2:
      resourceserver:
        jwt:
          issuer-uri: https://cognito-idp.ap-northeast-2.amazonaws.com/<USER_POOL_ID>

app:
  cognito:
    region: ap-northeast-2
    user-info-uri: https://<your-domain>.auth.ap-northeast-2.amazoncognito.com/oauth2/userInfo
  cors:
    allowed-origins: "https://kickytime.nextcloudlab.com, http://localhost:5173"
server:
  port: 8080
프라이빗 서브넷의 백엔드는 JWK(
/oauth2/jwks),issuer-uri등을 호출해야 하므로 NAT 또는 프록시 아웃바운드가 필요합니다.
7-2. 프론트엔드 .env
VITE_API_BASE_URL=https://api.kickytime.nextcloudlab.com/api/
VITE_COGNITO_DOMAIN=https://<your-domain>.auth.ap-northeast-2.amazoncognito.com
VITE_COGNITO_CLIENT_ID=xxxxxxxxxxxxxxxxxxxx
VITE_COGNITO_REDIRECT_URI=https://kickytime.nextcloudlab.com/auth/callback
8) 보안 고려사항 (진행 중 체크리스트)
- access token만 서버에 보냄 (
id_token은 프론트 전용 표시용) token_use=access검증- CORS: 출처(origin) 정확히 지정(슬래시 금지),
credentials필요 시 옵션 분리 - HTTPS 강제 (ALB/CloudFront)
- 서버 로그에 토큰/개인정보 미출력
- aud(client_id), scope 추가 검증 (고객 앱 클라이언트 오용 차단)
- 토큰 저장소를 메모리/HttpOnly 쿠키 기반으로 전환(BFF 패턴) → XSS 리스크 감소
- Refresh Token Rotation + 만료 임박 시 Silent Refresh 처리
9) 성능 최적화 메모
- JWK 키셋은 Spring이 캐싱하므로 재시도/네트워크 실패 시 백오프 설정(기본값 사용)
/api/users/signin-up는 최초 1회만 호출 → 이후/me캐싱(프론트 상태관리 사용)- CloudFront 캐시 정책: 정적 리소스에 적절한 TTL/invalidations
10) 테스트 전략
- 단위 테스트: 서비스 레이어(H2 메모리 DB) 중심
application-test.yml
OAuth2ResourceServerAutoConfigurationexclude (원격 JWK 호출 방지)- H2 in-memory DB,
ddl-auto: create-drop
- 통합 테스트: Swagger/OpenAPI 문서 기반 시나리오,
/me401/200 경계 테스트
11) 프론트엔드 테스트
- 로그인 버튼 → Cognito redirect URL 생성(PKCE 챌린지 포함) 테스트
- 콜백 파서:
code유효성, 에러 분기 처리 - Axios 인터셉터: 토큰 부재/만료 시 처리(401 핸들링)
12) 향후 개선 방향
- BFF(Backend for Frontend) 도입: 토큰을 서버 측 쿠키로 관리, 프론트에는 세션만 노출
- 권한 모델 확장:
ROLE_ADMIN+@PreAuthorize정책, 매칭 운영 API 분리 - 감사로그/모니터링: 로그인/가입 이벤트(성공/실패) 지표, CloudWatch + Grafana 대시보드
- 소셜 로그인 연동: Cognito Identity Provider(Google/Kakao 등) 추가
- 테스트 강화: MockWebServer로 UserInfo/Token 엔드포인트 행위 테스트
13) 내가 배운 것 (학습 포인트)
- Spring Security OAuth2: JWT 기반 인증 구현
- PKCE: 보안이 강화된 OAuth2 인증 흐름
- 보안: JWT 토큰 검증과 CORS 설정
- AWS Cognito: 완전 관리형 사용자 인증 서비스 활용
- 인프라 연계: 프라이빗 백엔드가 퍼블릭 인증 서비스(Cognito)에 접근하려면 NAT 가 필요함
- 프론트 인증 상태관리: Zustand/axios 인터셉터로 인증 수명주기 관리
본 문서의 코드 스니펫은 Kickytime 저장소의 일부를 요약/정리한 것입니다.